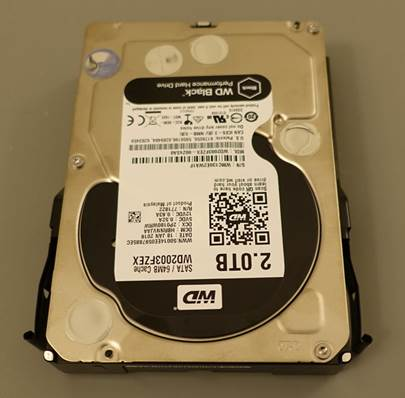
Mount the Western Digital Hard Drives
Take out the 2 bags containing the 3.5” Drive Screws and the Dampeners from the Accessory Box that came with your Define R5 Case.
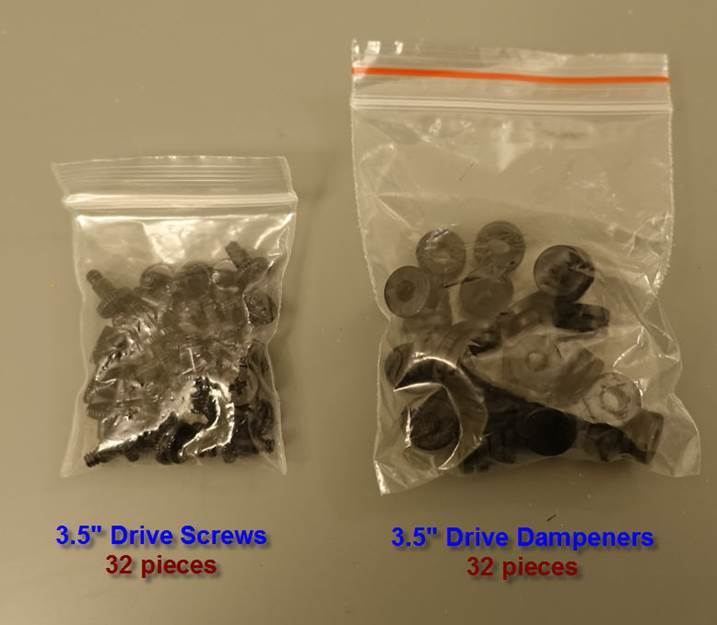
These are the 2 bags containing the 3.5” Drive Screws and Dampeners.
Each bag has 32 pieces.
This is enough to mount eight 3.5” Hard Drives.
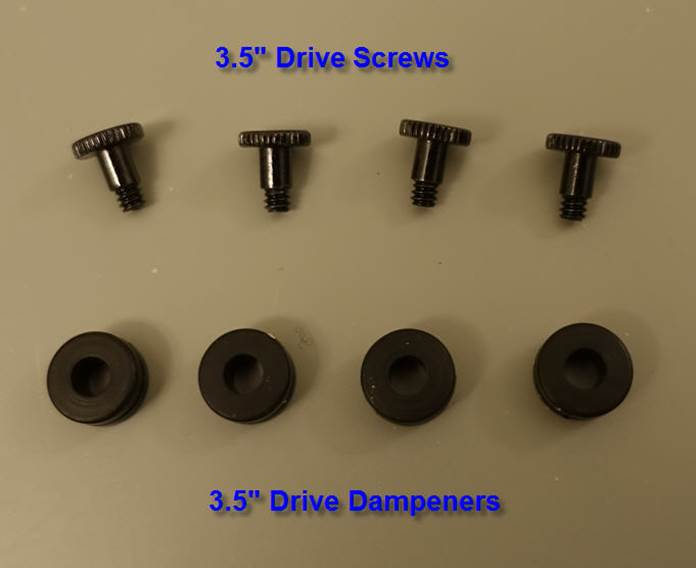
Take out four 3.5” Drive Screws and four Dampeners
The Dampeners help to absorb the vibration caused by the spinning mechanical Hard Drives.
You should use them while securing the Hard Drives to the Drive Trays.
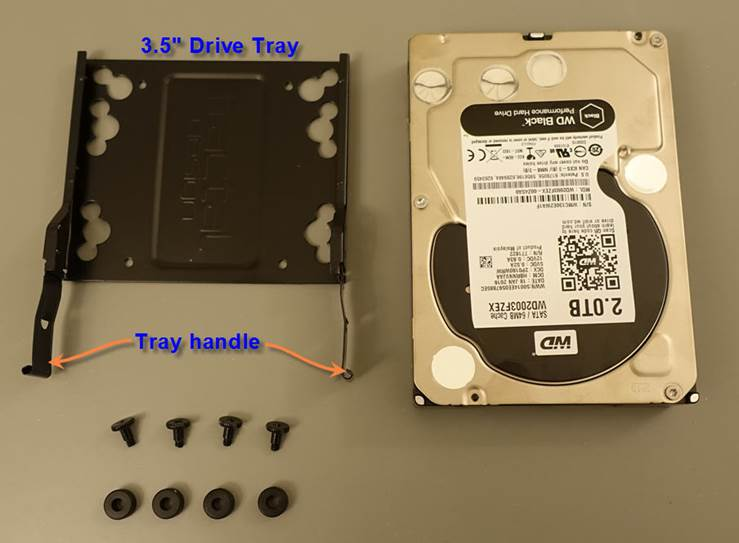
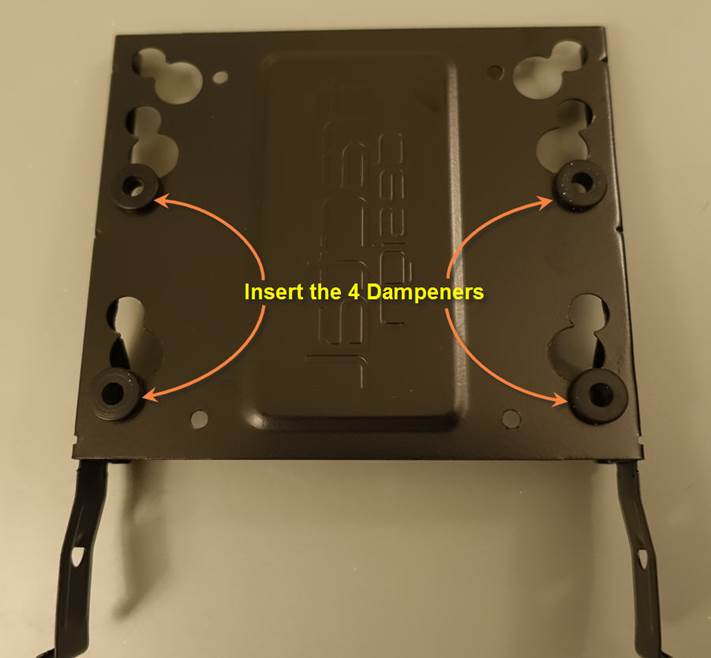
This should be the orientation of the Hard Drive relative to the Drive Tray.
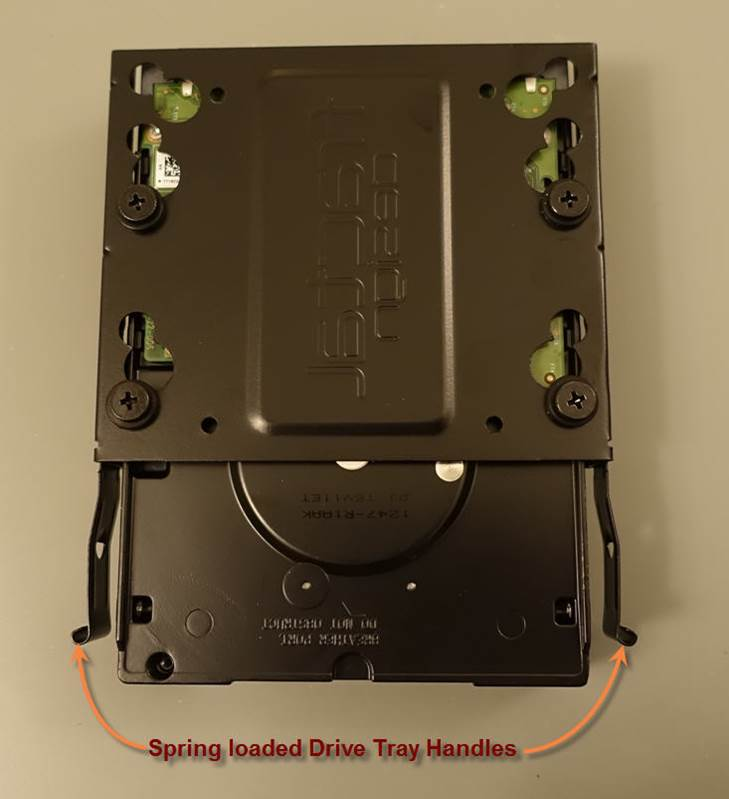
The spring loaded Tray Handles helps you pull the Hard Drives in and out of the Drive Bays.
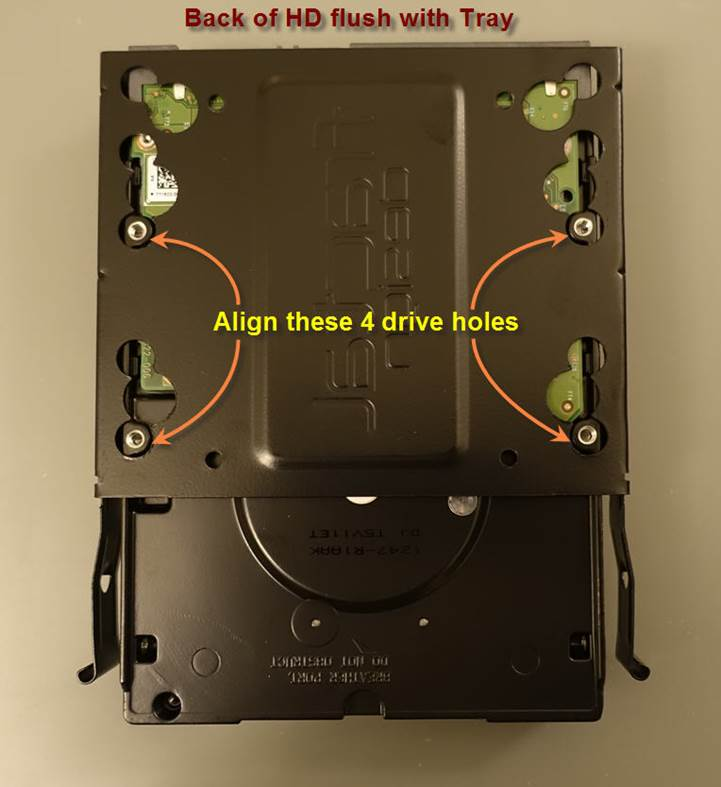
Align the 4 Drive Holes on the Hard Drive with holes on the Drive Tray as shown.
The back of the Hard Drive will be almost flush with the back of the Drive Tray.
Note: Before you screw in the 4 Drive Screws, insert 4 Dampeners as shown.
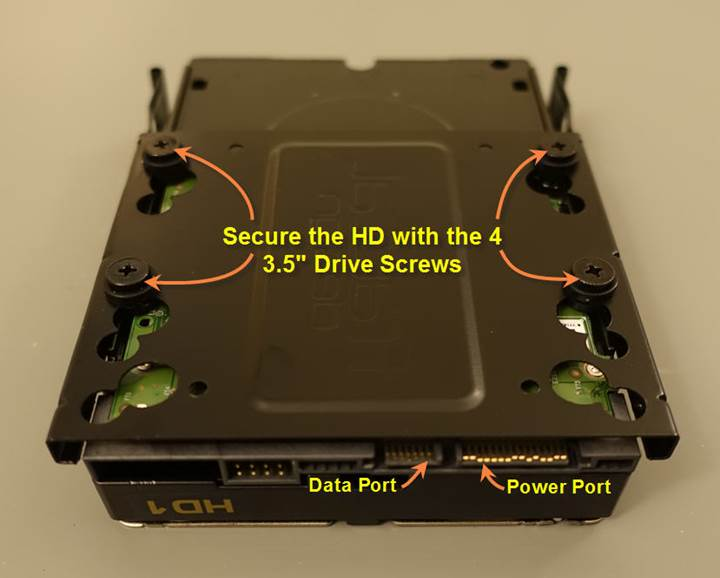
Secure the Hard Drive with the 4 Drive Screws.
Do not over tighten!
The Dampeners are meant to behave as anti-vibration pads isolating the Drive Tray from the spinning Disks.
This greatly helps to reduce the noise from the spinning drives.
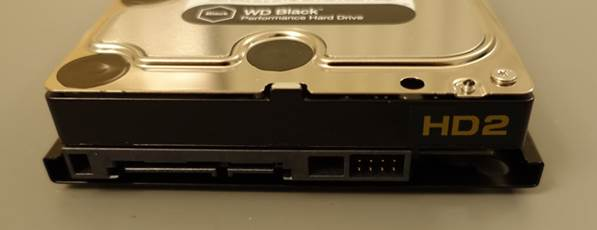
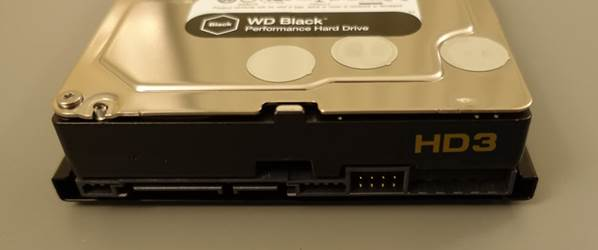
Notice how the Data Port and Power Port juts out slightly behind the back end of the Drive Tray.
This makes it easier to connect the SATA Data and Power cables.
Pinch the Drive Tray Handles inwards while pushing it inside the Drive Bay.
It will lock in place securing the Hard Drive inside the Case.
This is the view from the Top.
Attach the 2nd Hard Drive to a Drive Tray
Attach the 3rd Hard Drive to a Drive Tray
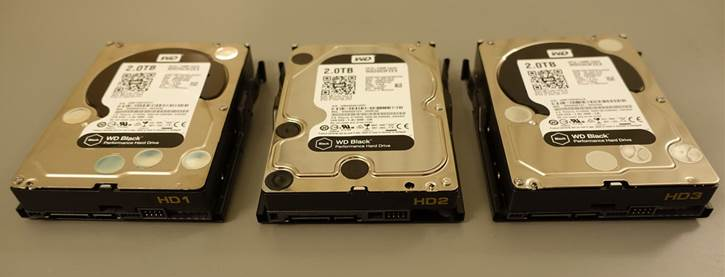
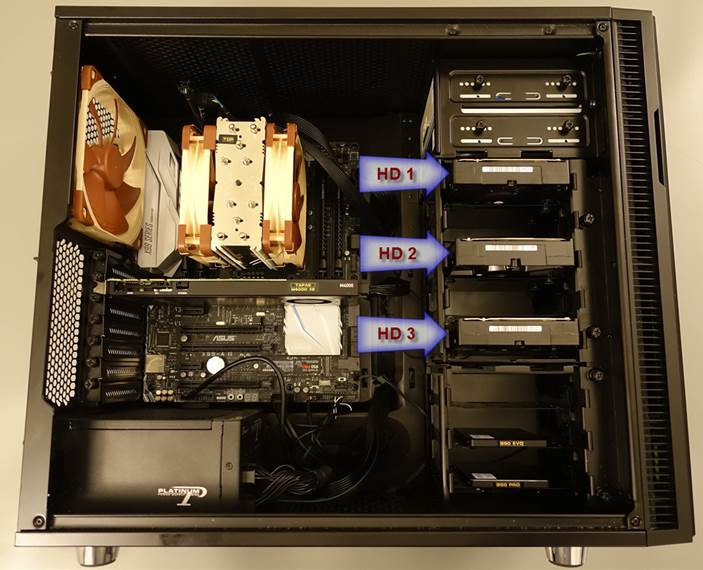
Your 3 Hard Drives are now secured to 3 Drive Trays.
Slide in the 3 Drive Trays into the 3 Hard Drive Bays as shown below.
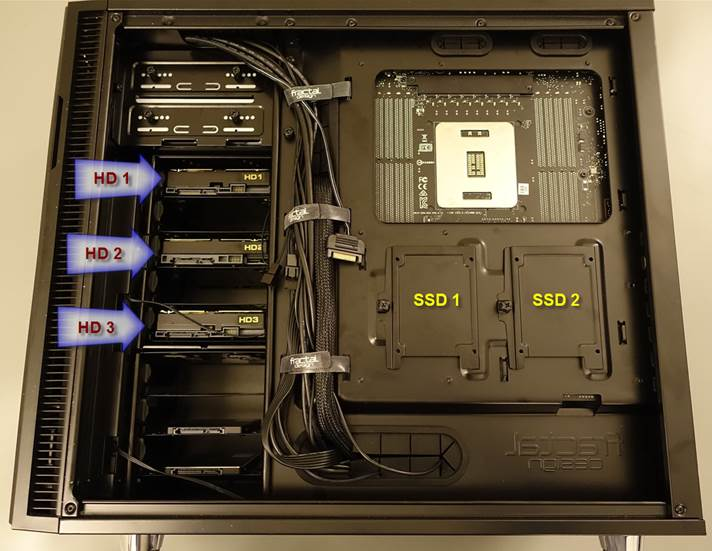
This is the view from the back.
Notice the 2 extra slots on the back for mounting SSD drives.
You are not using them for this build.
However, if situation demands, you can mount 2 additional SSDs in these slots.
Or, you can mount your existing Samsung 850 PRO and 850 EVO SSDs in these slots, and make room for 2 or more additional Hard Drives in the bottom 3.5” Drive Cage.
This is good for future expansion.
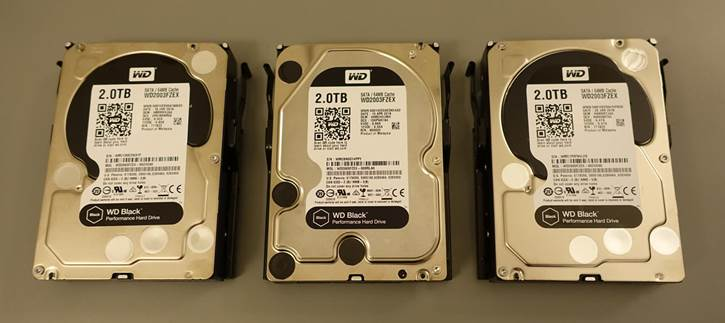
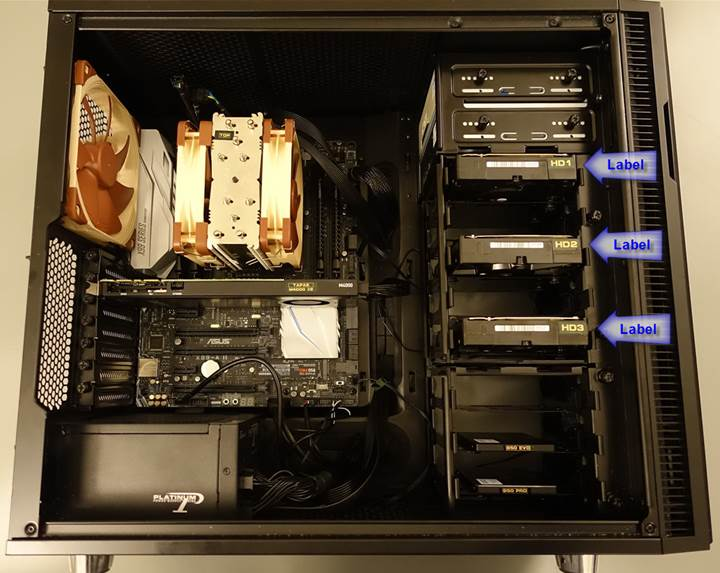
To be consistent, you can add labels on the front face as well.
This completes the mounting of all your 7 drives.
The inside of the case looks clean, with plenty of space for air flow.
Next, you will connect 2 modular SATA Power Cables to provide power to these 7 drives.